TJM T
在TJM T-13前杠基础上安装Warn XD9000绞盘,会给汽车增加大约160磅(72.6公斤)的前置配重,因此这个(以及类似组合)适用于大中型越野车。如果应用于小型越野车,可能引起平衡的问题。
This(文末大图) is the front view of my TJM steel bumper. It weighs about 75 lbs and is a two piece arrangement. The first piece is a mount that attaches to the frame at 12 points with bolts. Then the bumper attaches to this sub frame with 6 large bolts. I have mounted PIAA 150 lights. I have also installed a Warn DX9000 winch. I redrilled the holes mounting the bumper so as to move it up 3/4". This makes for a better fit after installing my 1" body lift. With the winch installed the bumper weighs about 160 pounds.
I choose the XD9000 for use with this bumper. At the time of purchase it was the largest, most powerful winch I could get to fit inside the TJM bumper. Now the new Warn 9500i is avaible. With some fabration it should be possable to put this winch into the TJM bumper.
I removed the bit of steel from the top of the bumper to make for easier access to the Winch clutch.
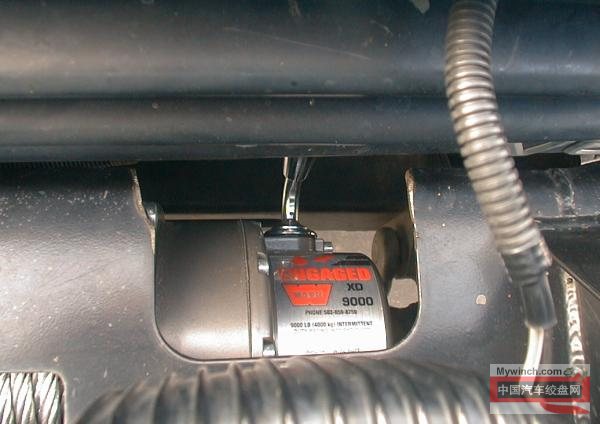
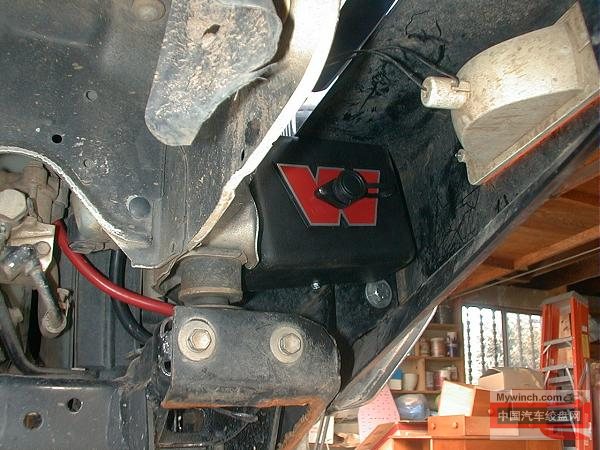
Mounting the Winch relay control box was the hardest part of the project. My first thought was to place it under the hood and run cables up to the winch but there was no room under the hood. I ended up placing it inside the bumper. It was a tight fit but I was able to get it in there.
The positive cable that runs from the winch up to the battery is rather long and runs though places not designed to accommodate a large wire. I decided to protect the cable with some 5/8" fuel line. I slipped it over the wire and ran the wire up from the winch control box to my battery. The Optima battery I use has both side and top contacts. My truck runs off the top contacts leaving the side connectors open so I connected the winch cables to the side terminals.
I removed the stock front tow hooks and clip and replaced it with a pair of "D" shackles that are mounted to the bumper sub frame. With the bumper lifted up 3/4" the D rings hangs down just right. No more worries about bent clips. I reinforced the bumper support with a triangular piece of 1/2" steel. Drilling the 3/4" holes for the pin was no easy task.


